|
|
Ground Hawg Towable Backhoe |
|
|
|
Ground Hawg Towable Backhoe |
|
Build your own backhoe! (Part 3)
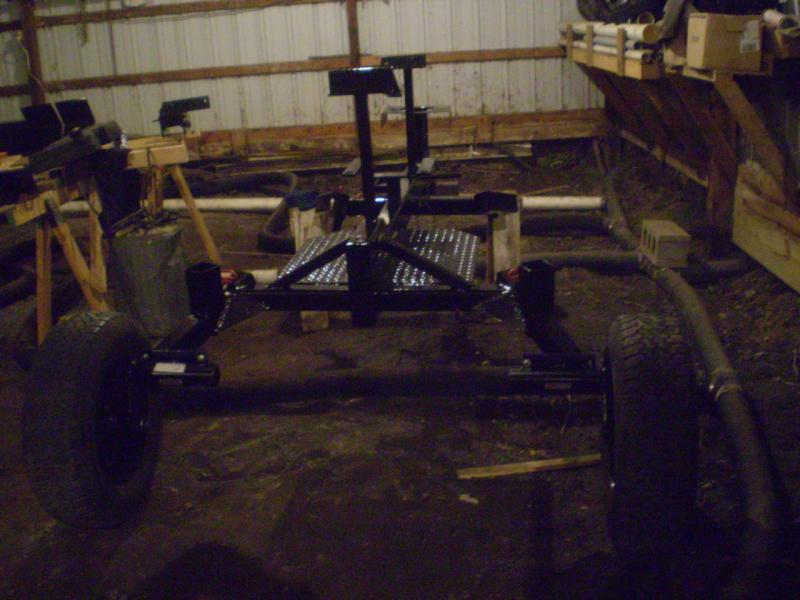 | 5 September 2007 The wheel tubes are in place, the torsion axles are mounted to the wheel tubes, the hubs are mounted to the axles, and the wheels are mounded to the hubs. No more saw horse under the front of the frame. |
 | Rear stabilizer legs are now holding up the rear. The frame has been repositioned for final assembly and driving out of the garage.
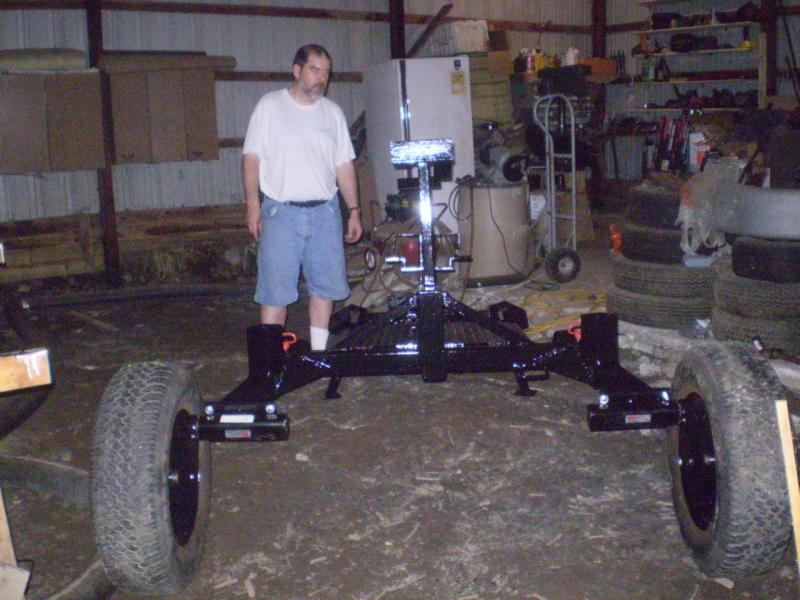
Note that the wheels are in towing position. Once in digging position, the wheels will go on the back and the stabilizer legs will go in the front. I can't have done too much this day. I look too clean! |
 | I'm really not posing. I'm thinking and discussing things with my wife while she takes pictures. |
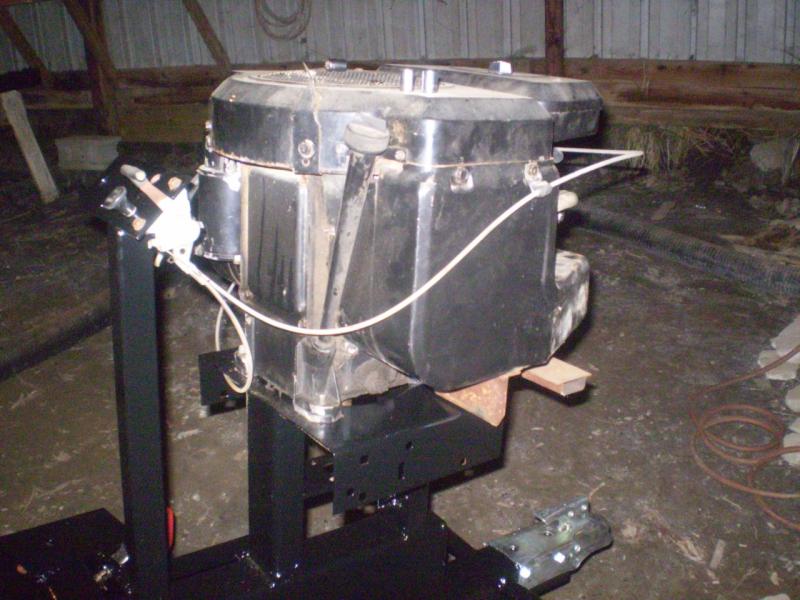 | 6 September 2007 The engine is mounted and the trailer hitch is on. |
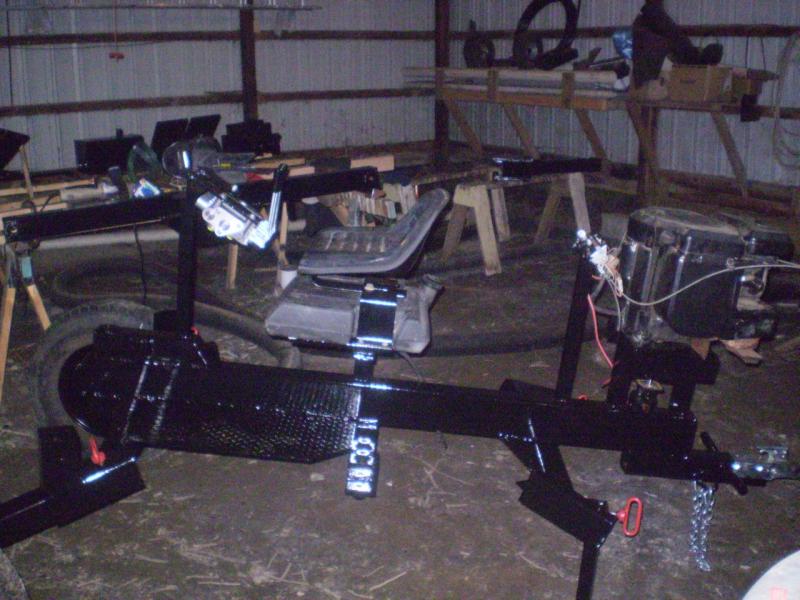 | The fuel tank, seat, and hydraulic valve are in place. The seat/fuel tank configuration is as it came from the donor tractor, and I'm using the original brackets as well. The engine has its own fuel pump, so the position of the fuel tank horizontally below the carburetor is not a problem. |
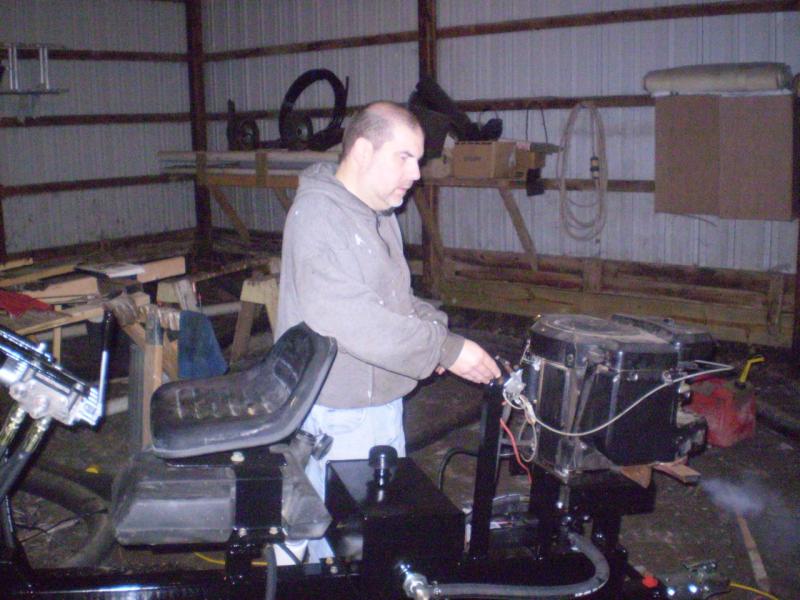
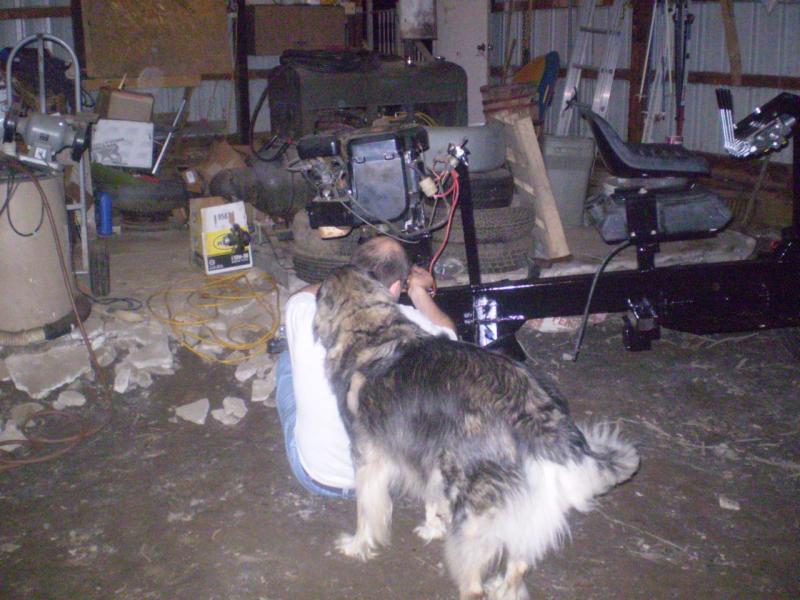 | Mounting the pump. Duke is making sure that a) I'm doing it right, and b) my neck is clean. |
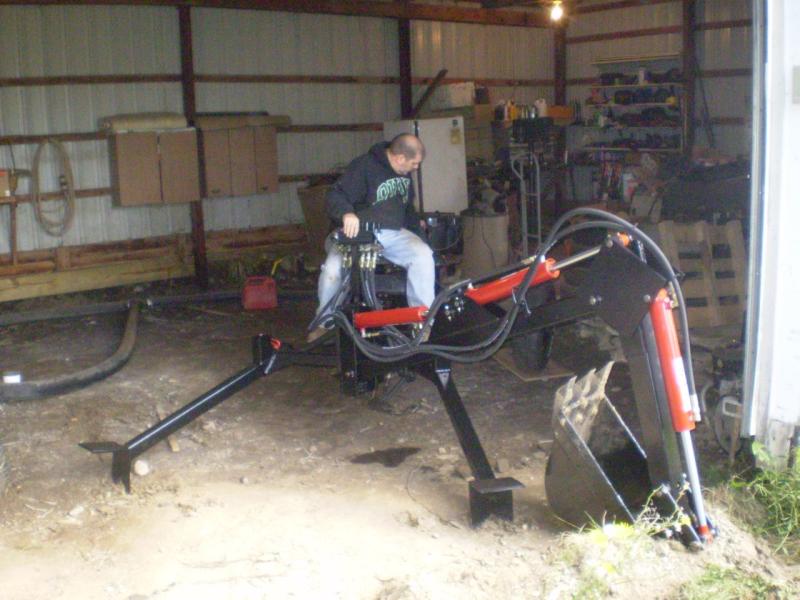
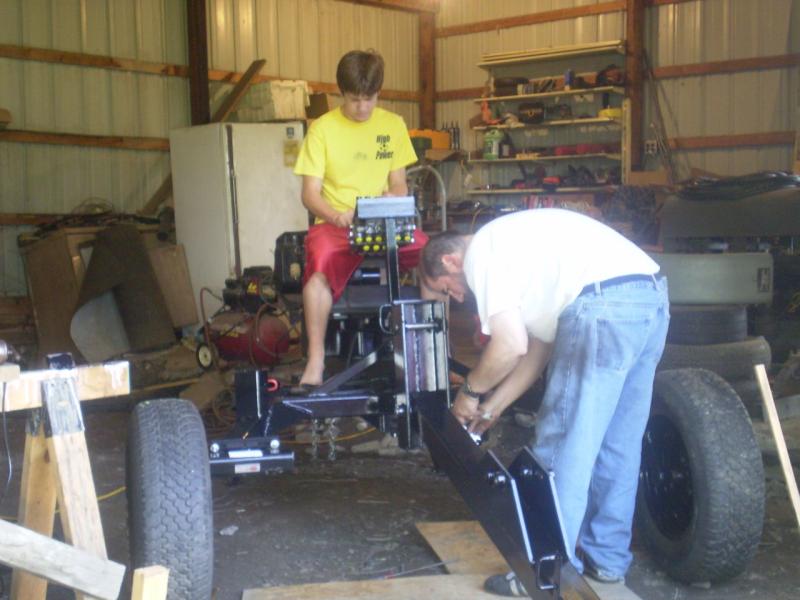 | 8 September, 2007The boom pivot is in place and the boom is going on. Colin is starting to get excited about this. |
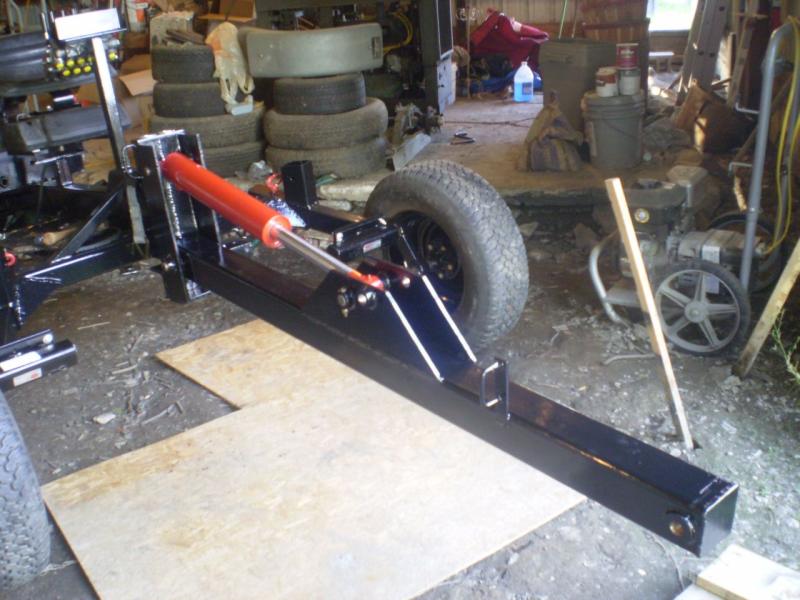 | The boom and cylinder is in place. |
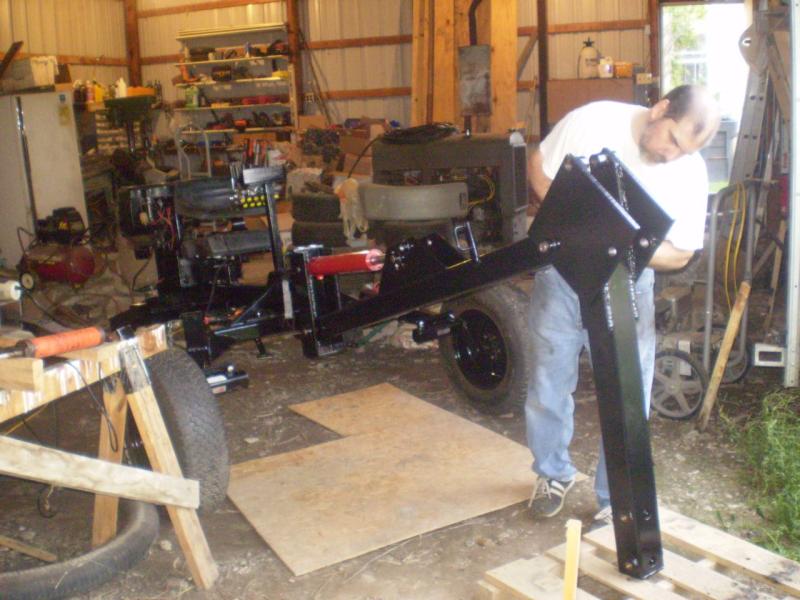 | The dipper arm is going on. The plywood and pallet simply keep things (like me) from lying in the dirt while it all goes together. |
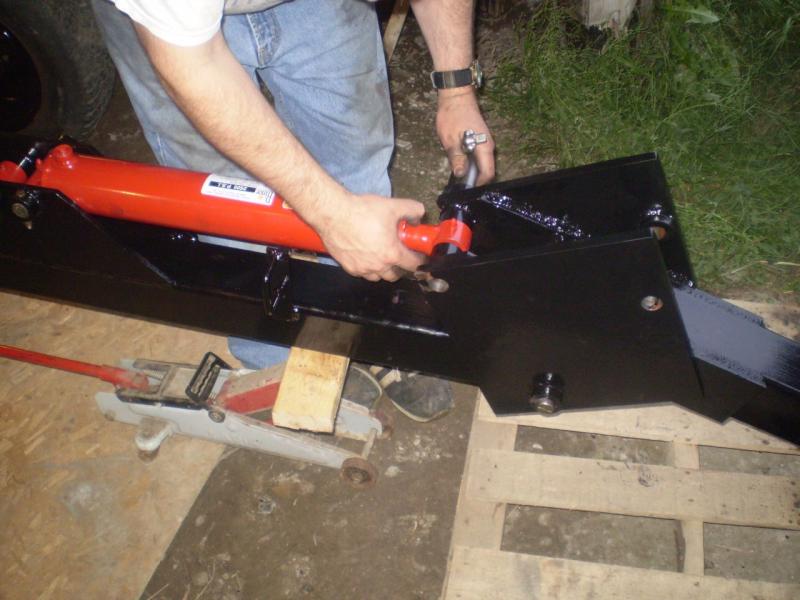 | Installing the upper pin for the dipper arm cylinder. |
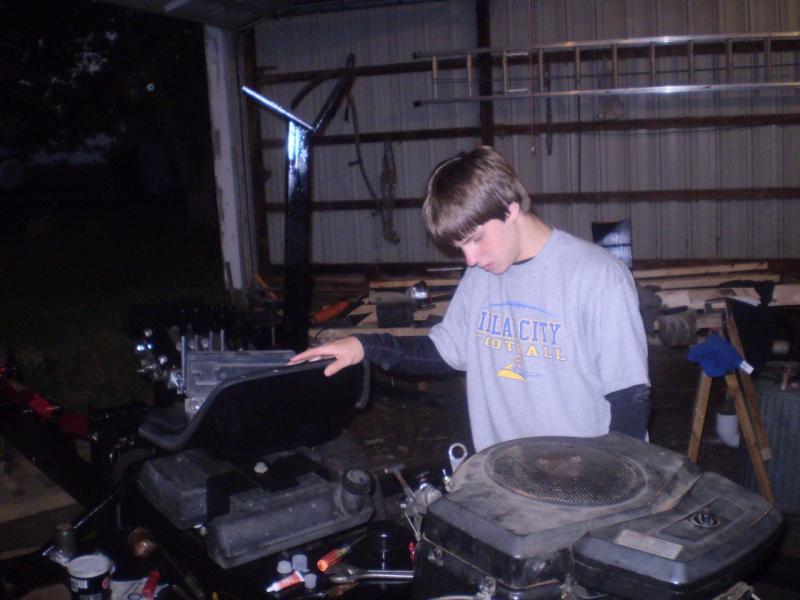
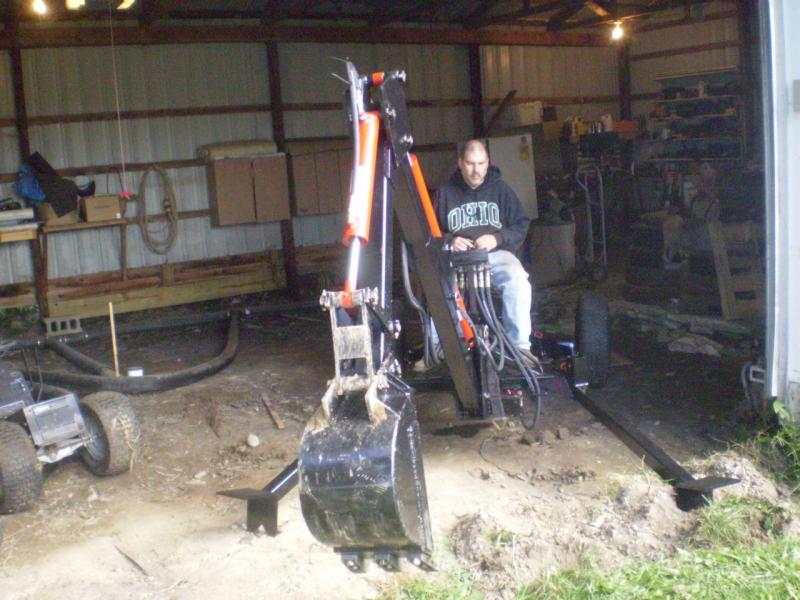
 | 9 September 2007 The dipper and bucket and related cylinders are in place. I'm snatching the top part of the battery hold-down from the donor tractor. |
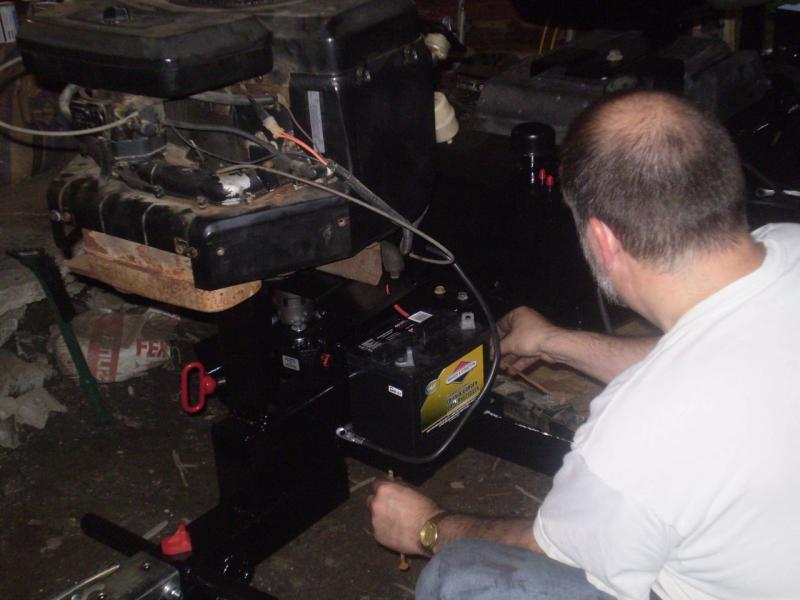 | Getting the battery installed. |
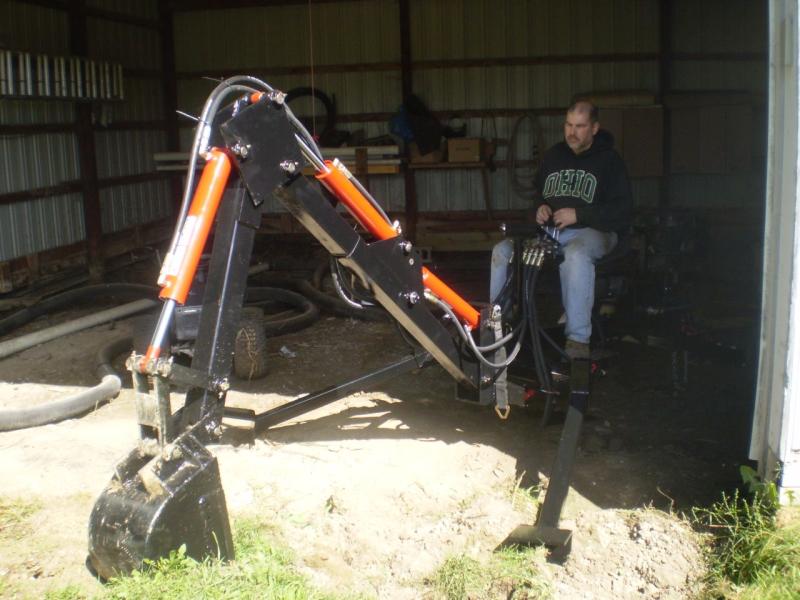
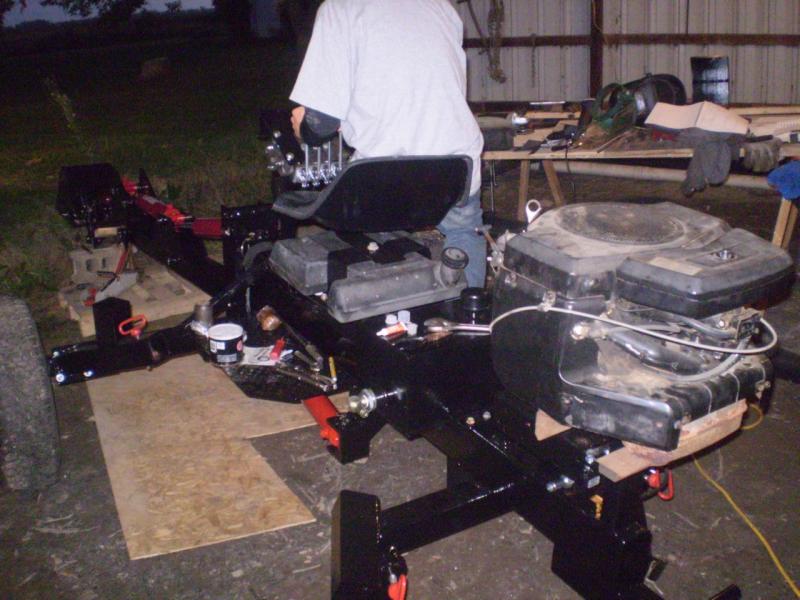 | As various assembly activities take place, tools, rags, grease containers, etc. are stacking up on any horizontal surface. Note the hydraulic fittings are in place on the tank and the pump. Colin is trying to get a sense of what it will be like to operate this. |
 | You can see the suppressed excitement. He hasn't said much to me, but apparently he has mentioned several times to my wife about how excited he is about his project. |
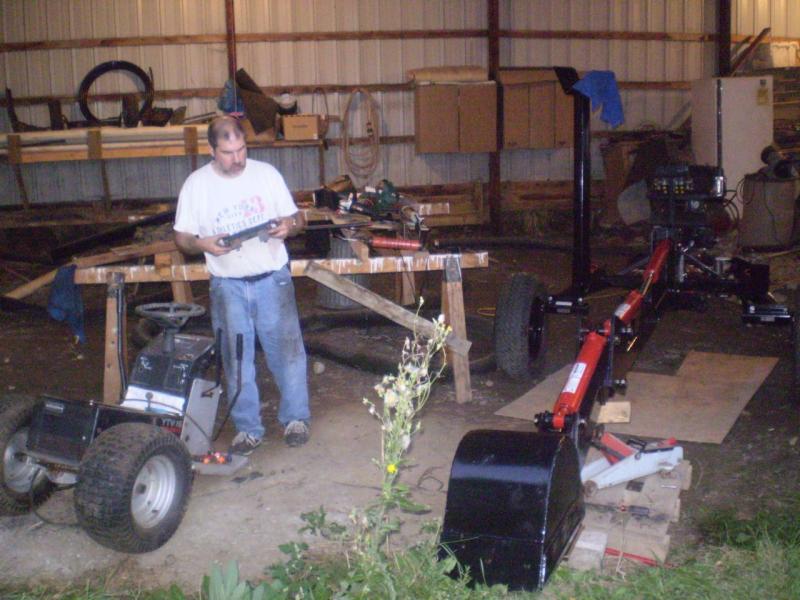
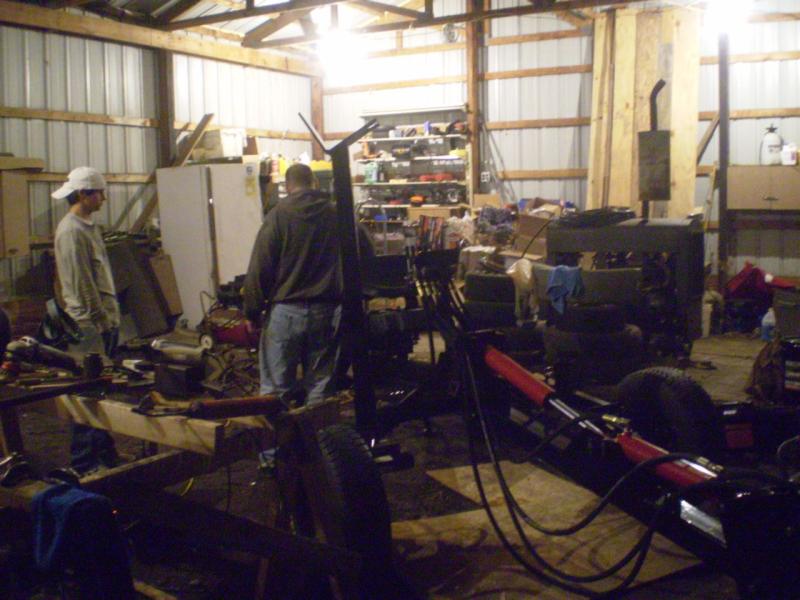
 | Just checking everything out. Tools everywhere. |
 | It may look like I'm closely examining something. But really I'm just pulling the jack out. |
 | 11 September 2007 Gentlemen, START...YOUR...ENGINES!! |
 | Hmmm...something's not working right. Engine runs, no leaks, hydraulic tank is full, but nothing moves.
The real purpose of this picture is to show the hydraulic hoses. All hooked up, but not yet wire-tied to stay out of the way. |
| 13 September 2007 No picture for today, but found the problem the pump was mounted wrong. The pump is bi-directional, so there are no IN/OUT port markings, nor was anything indicated in the documentation that came with the pump. In looking at the pump, I was thinking that the oil would be trapped between the teeth of the gears (oil traveling between the gears), and mounted the pump accordingly. But this pump actually traps the oil between the gear teeth and the pump housing (oil travels around the outside of the gears). In effect, I had the IN and the OUT opposite where they needed to be. Re-mounted the pump 180-degrees from the first orientation, hooked everything up, and everything worked!
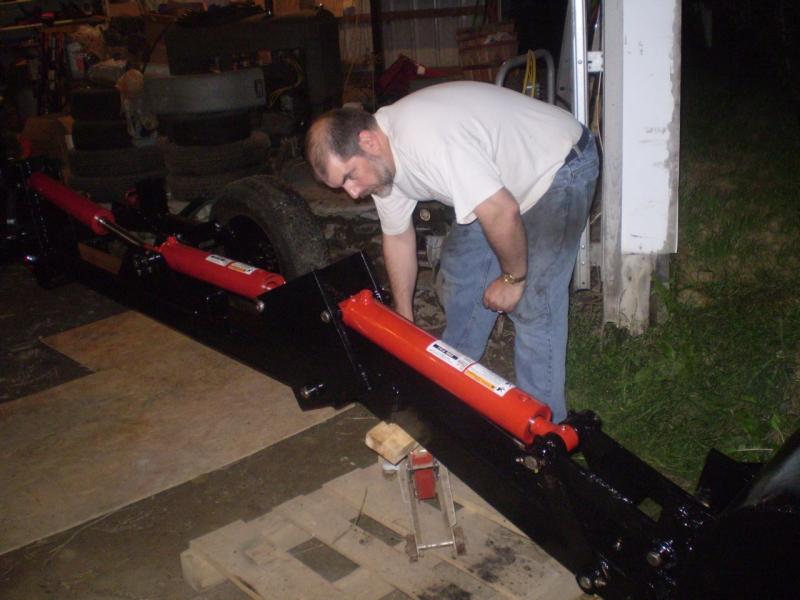
Moved the wheels to the back and put the stabilizer bars in place. Bucket teeth have been bolted on. Note regarding bucket teeth - I read some things about some preferring bolt-on teeth so they can be removed in certain instances, like working in ponds. I've also seen where others have built something to bolt on over the welded-on teeth to provide the same effect. I choose to go with the bolt-ons just to give me more options in the future. (Besides, the shanks were cheaper!) I also wanted the replaceable teeth which is why I did not build my own teeth. Now it's ready for digging! | |
 | 15 September 2007 Getting it fired up. The tools and sawhorses are all put away. |
 | I mentioned earlier about the condition of my garage floor. Due to digging out the poor, soft fill, there is a 12-inch drop from outside into the garage. Digging a small ramp will be necessary to get this out. |
 | Starting to see the light of day. |
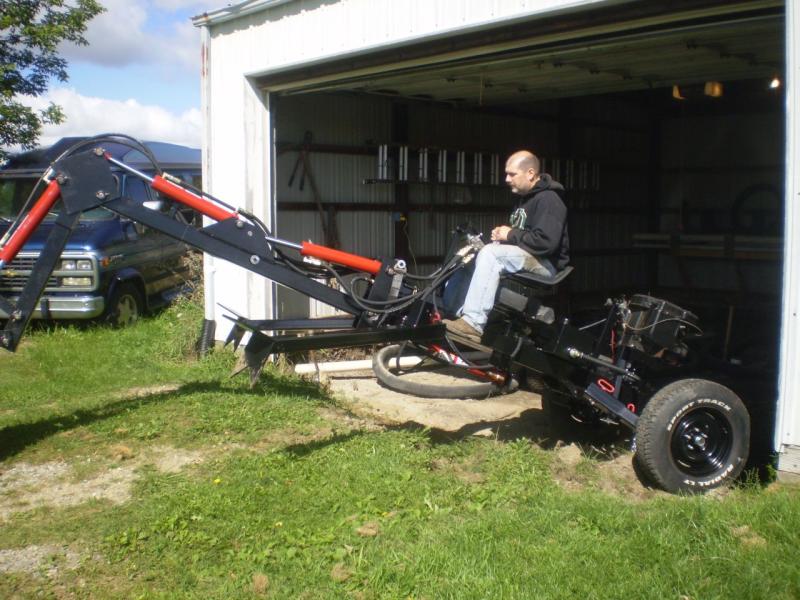 | Here it comes! Walking itself out of the garage. |
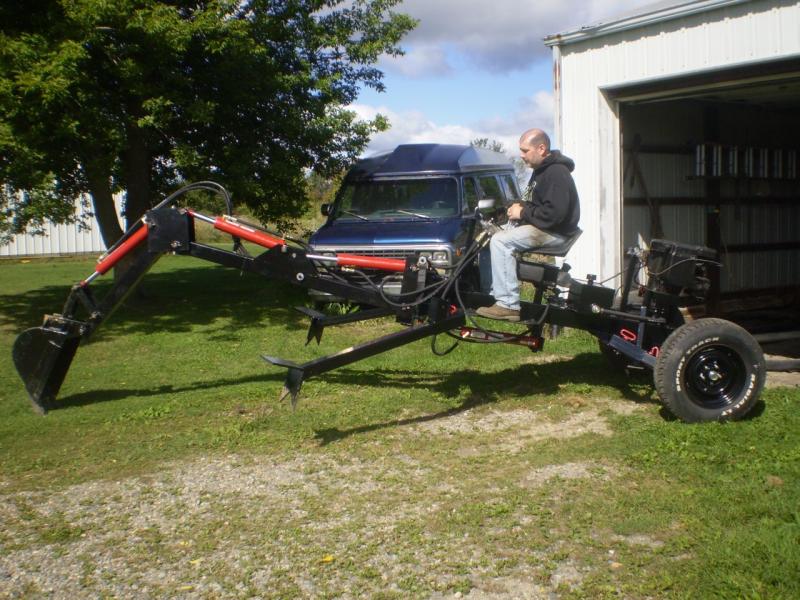 | Settling down to give it a good looking over in the sunlight. |
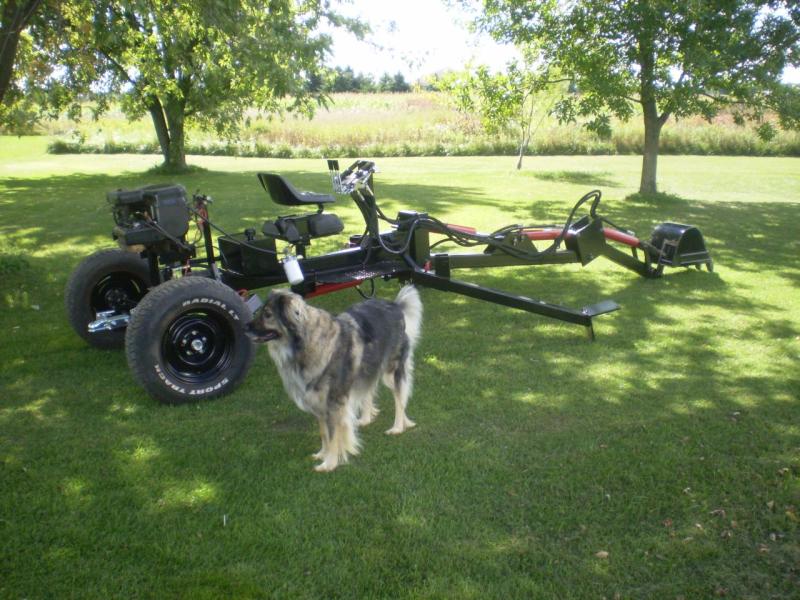 | Getting posed for its photo shoot. Duke isn't quite sure what to think about it, but is determined to be in on the fun. |
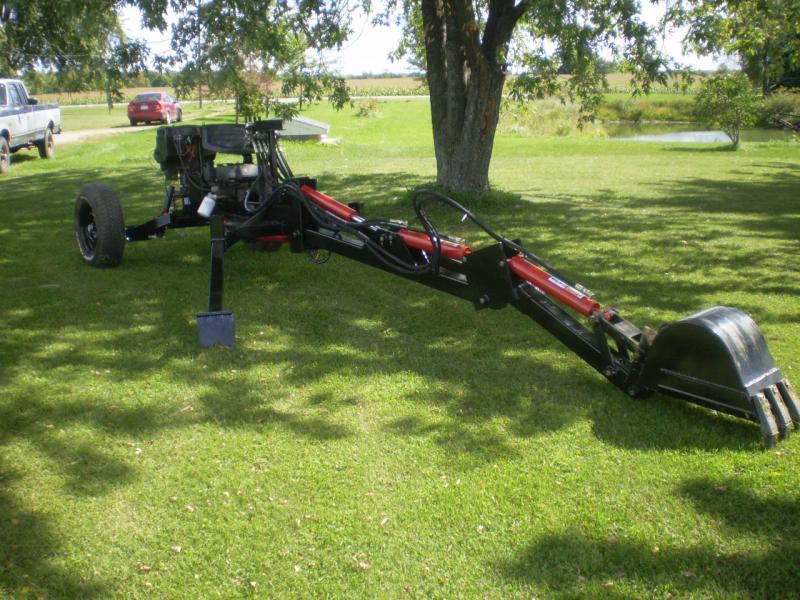 | Completed backhoe - Arm extended (1) |
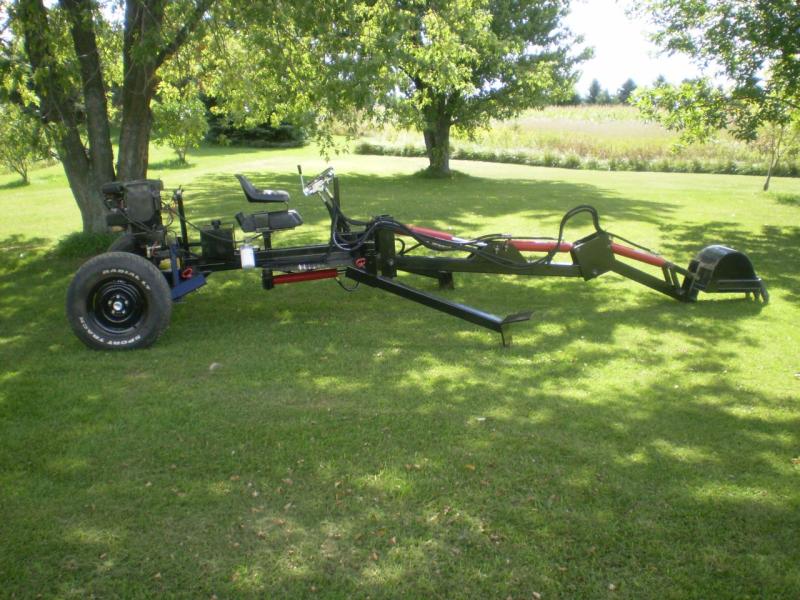 | Completed backhoe - Arm extended (2) |
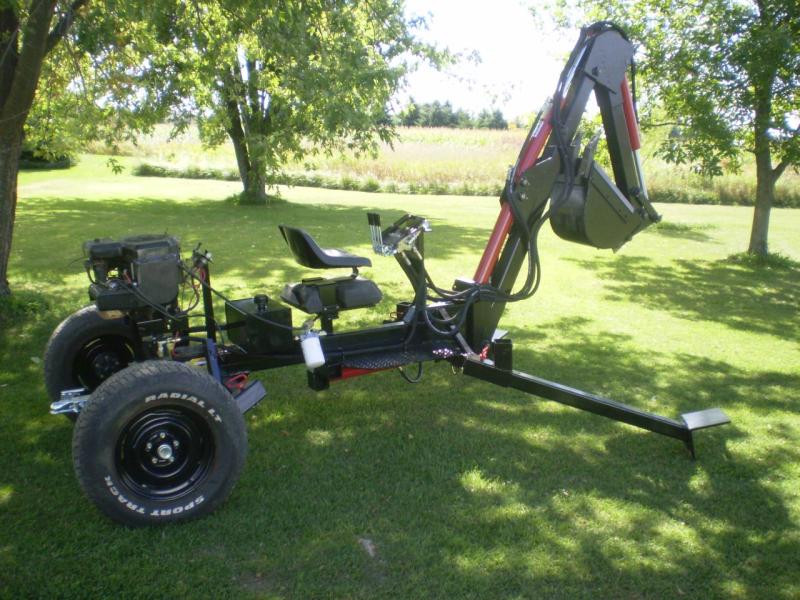 | Completed backhoe - Arm retracted (1) |
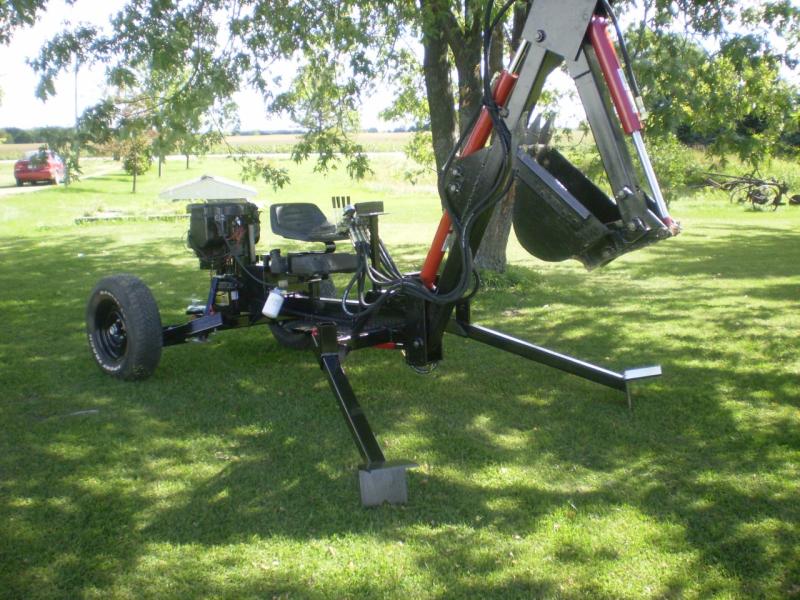 | Completed backhoe - Arm retracted (2) |
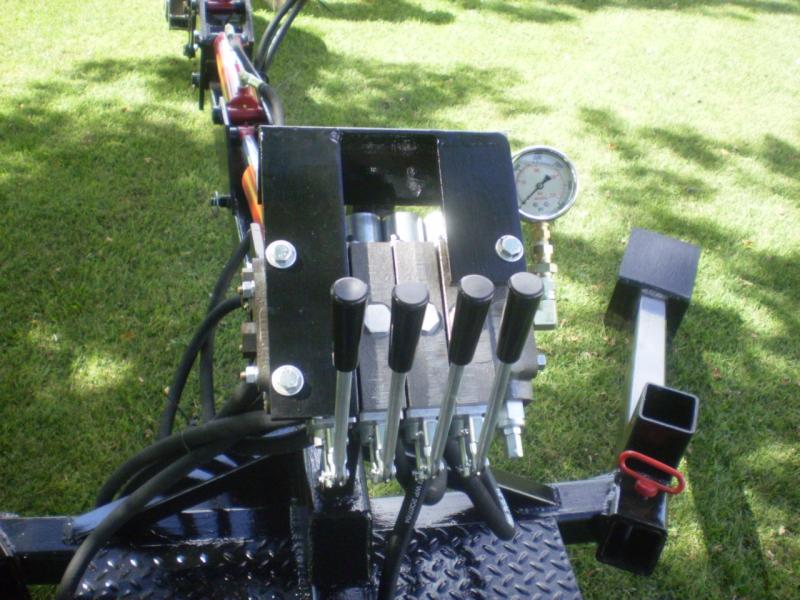 | Operator's console. I've seen in other pictures where some have added the pressure gague at the input. It certainly is helpful in getting the relief valve set correctly, and in keeping tabs on the overall hydraulic system whle it's running. I went with the "wet" gague and am very happy with it. |
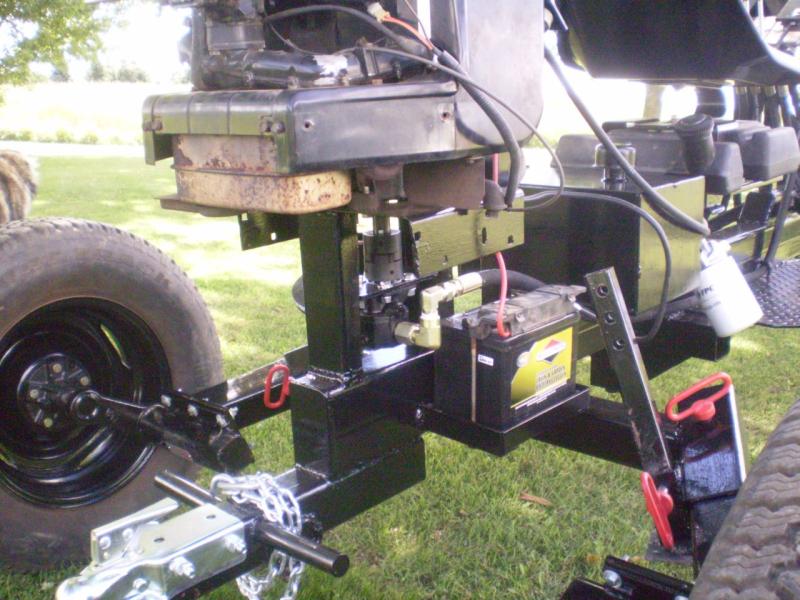 | A closer view of the power end of things.
This is probably one of the best pictures of the axles bolted to the plates that are welded to the wheel tubes. Getting the plates welded on correctly was probably the most difficult part of the project for me. In order for this to tow properly, the wheels have to be parallel to each other up-and-down and front-to-back. It was not clear to me from the instructions that cutting the wheel tubes (as per the instructions) would result in the right configuration. It was also unclear from the instructions (at least, to me) how many degrees from vertical the axle mounting plates should be. Further study of pictures of other Ground Hawgs led me to believe this angle was not critical. So, using a laser guide, I cut the wheel tubes across a straight line. Then I clamped up the plates to the wheel tubes such that a long straight-edge would rest evenly along the top edge, flat side, and bottom edge of the plate. The plates were then welded in place. One other difficulty is that once the plates and wheel tubes were fitted together, one corner of the tube was going to be close enough to one of the axle bolt holes that the hole would be unusable (the bolt wouldn't fit through). I decided to live with this, and my axles will only be held by five bolts rather than six. |
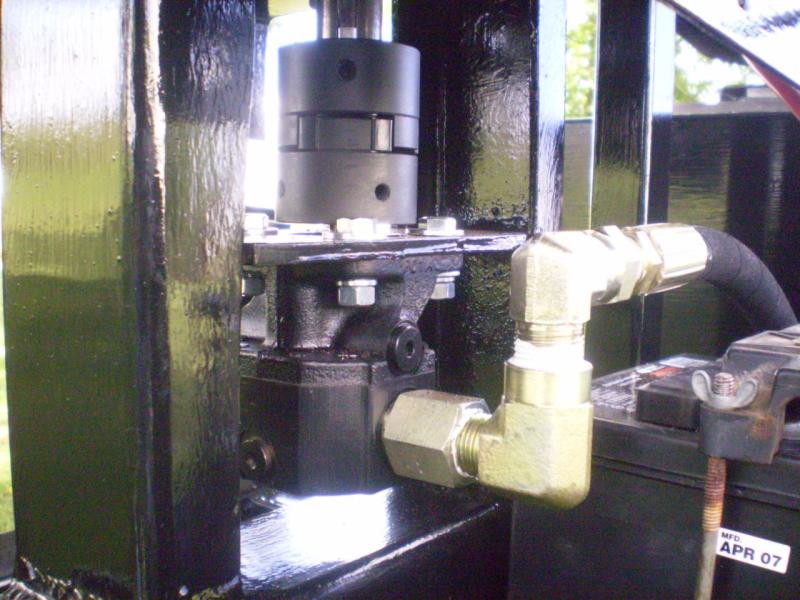 | Close-up of the coupling and pump, with the hose going over the battery. Clearances were a bit tight. To do this again, I might put the battery on the other side. |
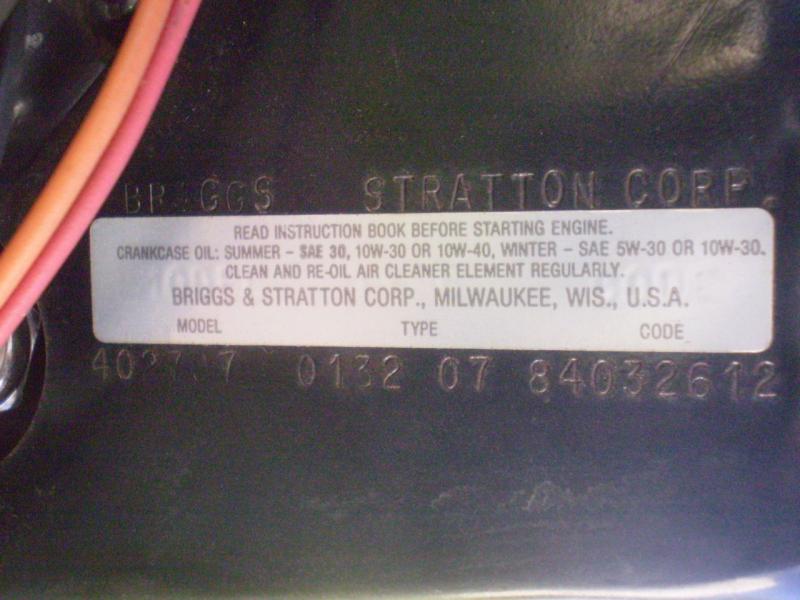 | Engine numbers. The engine was built 3/26/1984. |
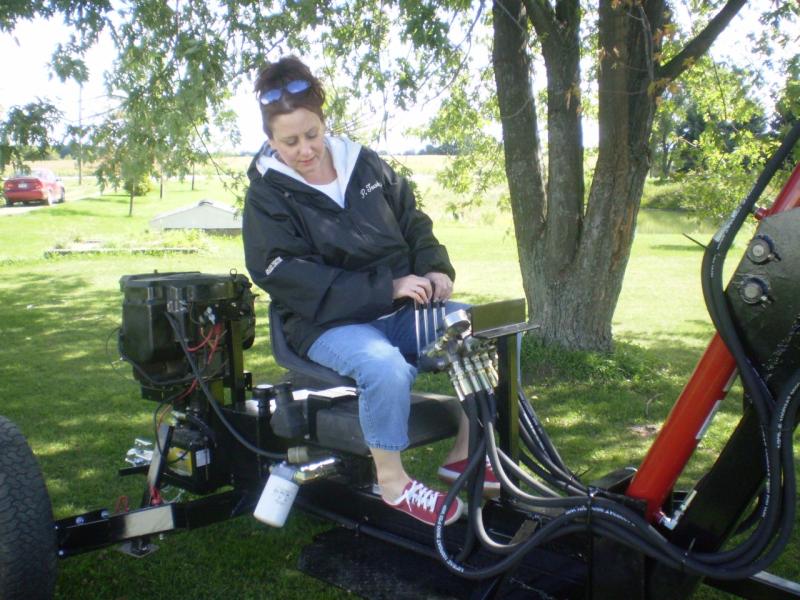 | My wife had to try it. The seat sits a bit high for her legs. Given this seat/tank/bracket configuration, there isn't much room for change. To do this again, I would consider how to add an adjustable-height seat. (Probably 1-1/2-inch tubing inside 2-inch tubing, with appropriate holes and a pin of some sort would do the trick.) |
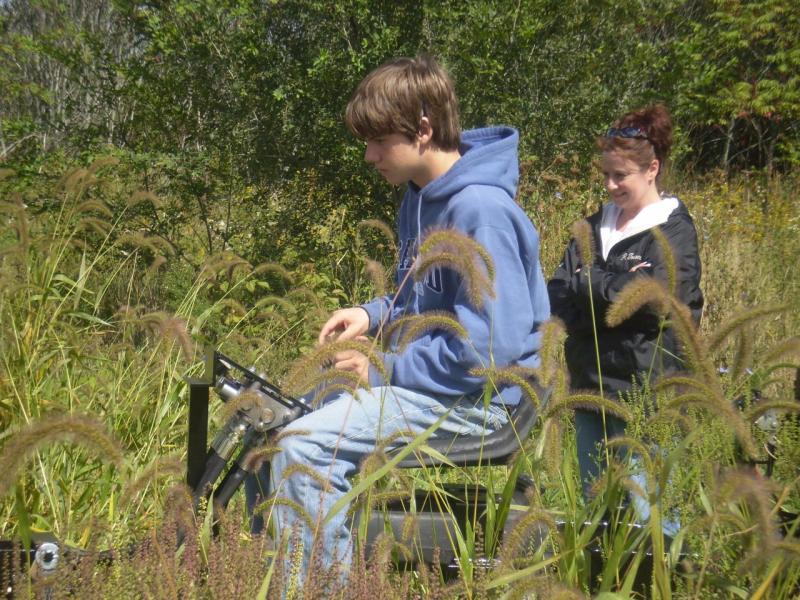
 | Colin is giving it the once-over. |
 | Photo-shoot over, it's been moved to the garden. It's been a very dry summer and nothing much grew except drought-resistant weeds. The clay soil is very hard. Let's see what we can do for an initial test. |
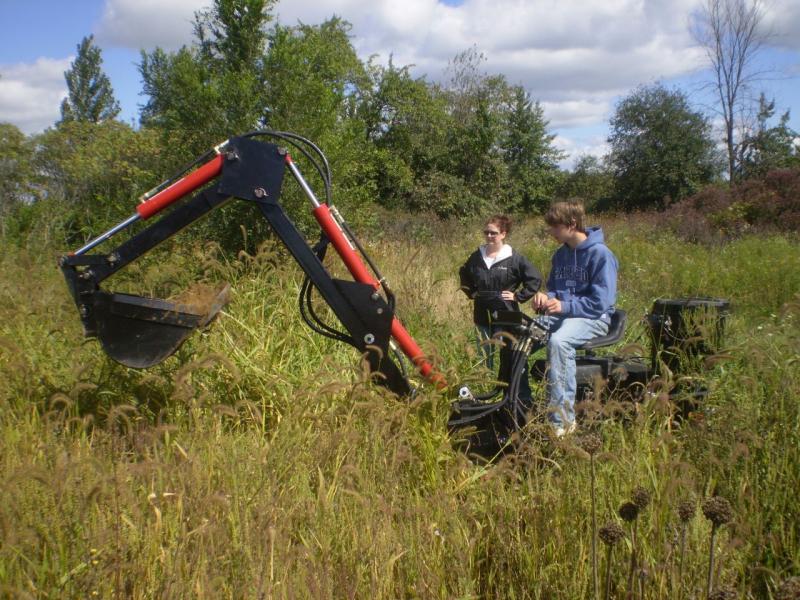 | Colin digging away. |
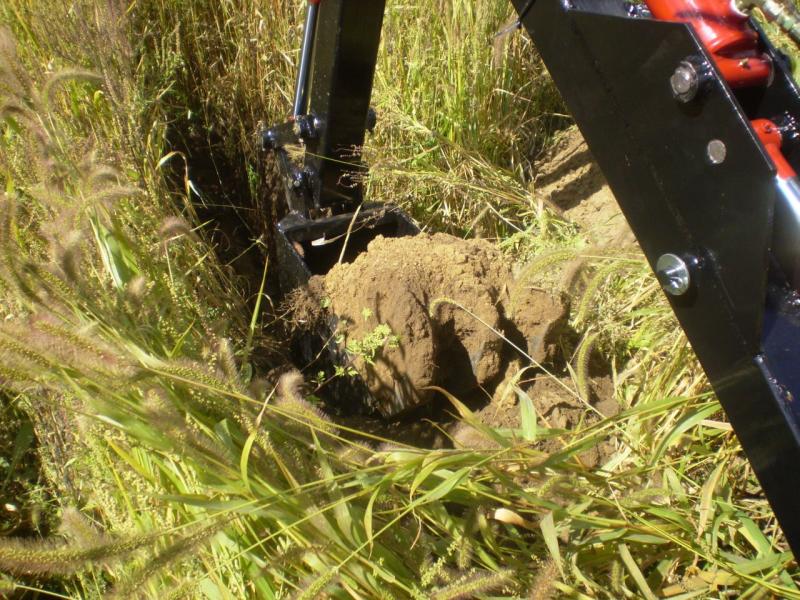 | This is doing a very nice job digging a bucket-width trench. We eventually dug down about six feet before filing it in and going to do some "real" work cleaning out ditches. All-in-all, a very satisfying project and a tool I'm extremely glad to have! |
|
|
|